
Agent
Agent sessions live inside a project in Workspace (the Group › Project tree — see Workspace). There is no separate Agent mode: expand a project in the sidebar and its sessions are listed there alongside its notes and boards. Start one from the project's New session action, or from Project Home.
A session is rooted in the project's linked folder, so a project with no folder linked can't start one — link the folder first (⋯ → Link folder…). You can also use a worktree (WT) so agent edits stay separate from your main checkout.
The utility panel (Explorer · Git · Terminal) is available on any session or project tab, for access to your file system, repository, and terminal alongside your agent work.
Installing the agents
Clauge does not ship the agents. It runs each provider’s CLI in a terminal tab and reads usage from that CLI.
Install and sign in to a CLI on your machine first. Only then does it show up when you create a New Session.
Install the agent CLIs
Choose your OS, then install the CLIs you want.
Claude Code
curl -fsSL https://claude.ai/install.sh | bash
Codex CLI
npm install -g @openai/codex
Antigravity
curl -fsSL https://antigravity.google/cli/install.sh | bash
OpenCode
curl -fsSL https://opencode.ai/install | bash
Claude Code
irm https://claude.ai/install.ps1 | iex
Codex CLI
npm install -g @openai/codex
Antigravity
irm https://antigravity.google/cli/install.ps1 | iex
OpenCode
npm install -g opencode-ai
Claude Code
curl -fsSL https://claude.ai/install.sh | bash
Codex CLI
npm install -g @openai/codex
Antigravity
curl -fsSL https://antigravity.google/cli/install.sh | bash
OpenCode
curl -fsSL https://opencode.ai/install | bash
More help from each provider:
| Provider | Docs |
|---|---|
| Claude Code | Setup guide |
| Codex CLI | CLI docs |
| Antigravity | CLI install |
| OpenCode | Documentation |
Sign in to a CLI inside the app
The first time a CLI opens in a terminal tab, it asks you to sign in. Follow the steps it shows — options depend on the provider.
Contexts
Contexts are short notes you reuse across sessions — coding rules, architecture notes, or anything you don’t want to type again.
Open Settings → Workspace → Agents → Contexts.
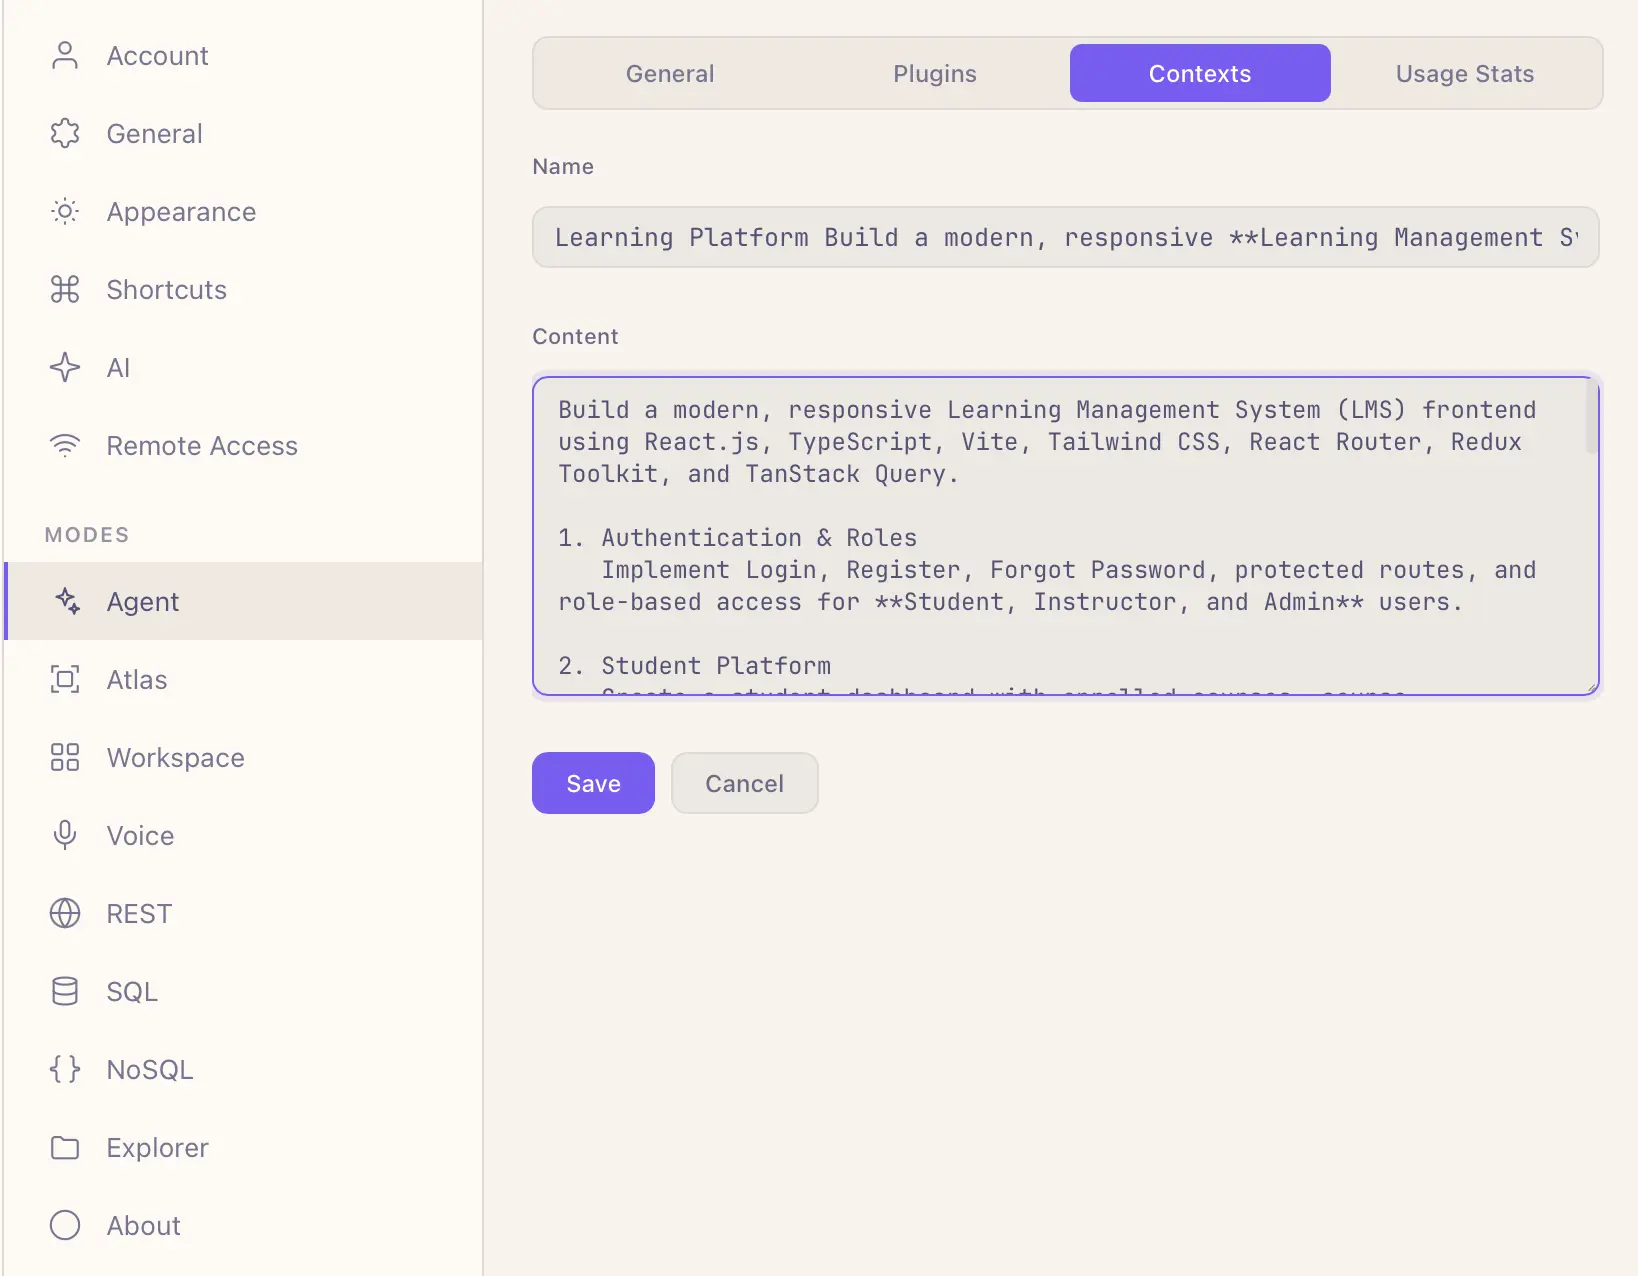
If the list is empty, click New Context, write your notes, and save. You attach contexts later when you create or edit a session (see Attach contexts and Edit a session).
Plugins
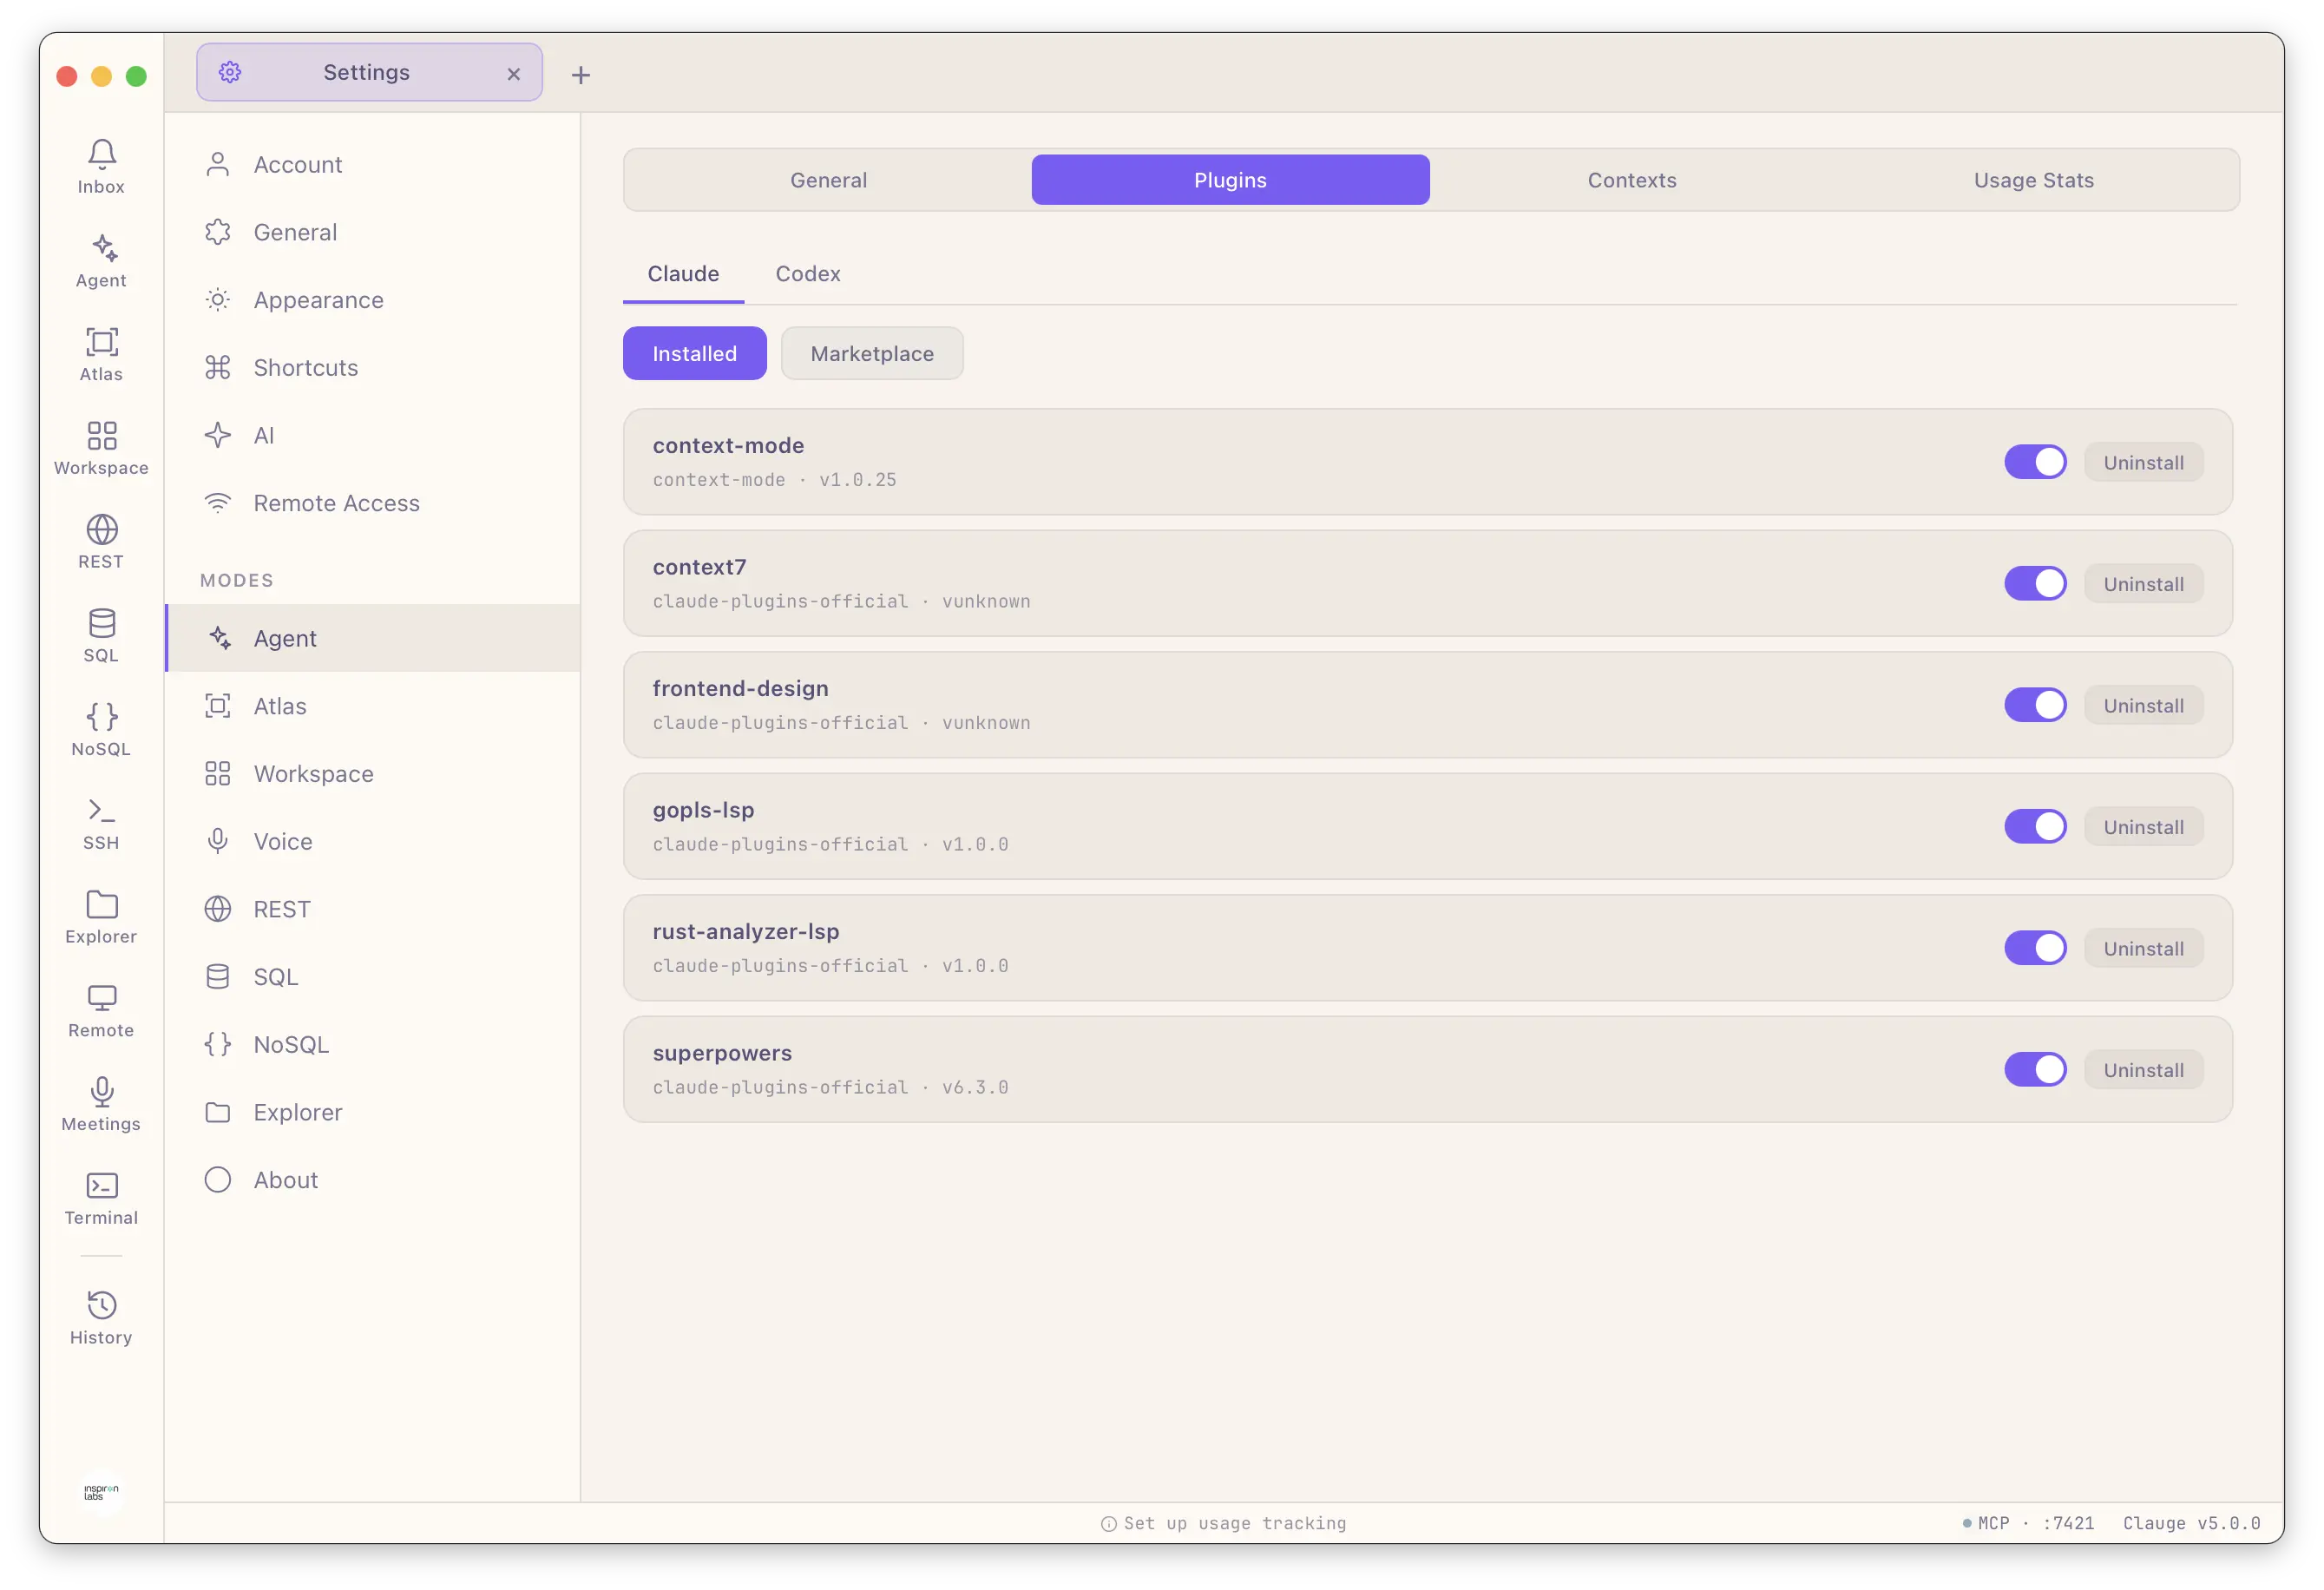
Plugins add extra tools for the agent — for example design help, docs lookup, or language servers.
Open Settings → Workspace → Agents → Plugins. Pick a provider tab, then use:
- Installed — turn plugins on or off, or uninstall them
- Marketplace — search and install more plugins
Purpose
On the General tab of New Session, pick what this session is for:
- Brainstorming — explore ideas; not heavy coding yet
- Development — build or change features
- Code Review — review existing code
- PR Review — review a pull or merge request
- Debugging — find and fix a bug
- Custom — write your own instructions (system prompt)
Advanced options
On the Advanced tab of New Session:
- Skip permissions — the agent can run tools without asking each time
- Git identity — use a different name/email for commits in this session
- Custom binary path — use a specific agent binary instead of the default
$PATHone - Attach contexts — include saved Contexts when the session starts. Turn it on, click + Add, and pick the contexts you want
Start a new session
- Open Workspace and find the project in the Group › Project tree.
- Click the project's New session action (its ⋯ menu, or the button on Project Home). The project's linked folder is filled in for you.
- Pick a provider (only installed CLIs appear).
- Set a Session Title (one is suggested from the project name).
- Pick a Purpose.
- Optional: open Advanced for extra options.
- Click Create session.
Creating a project offers to start its first session straight away, so a new project can go from folder to running agent in one pass.
Edit a session
Already have a session and want to change settings or add a context later?
- Find the session under its project in the Workspace sidebar.
- Click the ⋯ menu on that row.
- Choose Edit.
- Update the title or Advanced options (including Attach contexts).
- Click Save Changes.
Files, Git, and Terminal
When a session is open, click the side panel icon (window layout) to open it. Inside you’ll find:
- Explorer — browse project files and folders
- Git — stage changes, write a commit message, commit, and create a pull request / merge request
- Terminal — run shell commands in an integrated terminal
Usage Stats
See token and cost history in Settings → Workspace → Agents → Live usage, or click Set up usage tracking in the status bar if it isn’t on yet.
Turn on usage tracking
- Click Set up usage tracking (or open Settings → Workspace → Agents → Live usage).
- Finish setup so Clauge can read usage from your CLIs.
- Stats update on their own — click Refresh anytime.
Until tracking is on, Usage Stats stays empty even if you’ve run sessions.
What’s in Usage Stats
Pick a range (7d, 14d, 30d, or 90d):
- Summary — total cost, API calls, sessions, cache hit rate
- Tokens — input, output, and cache totals
- Daily activity — usage over time
- Live usage — current live data when available
- Models — which models you used
- Projects — usage by project folder
- Top sessions — busiest or most expensive sessions
- Tools & Shell — tools and shell commands used most